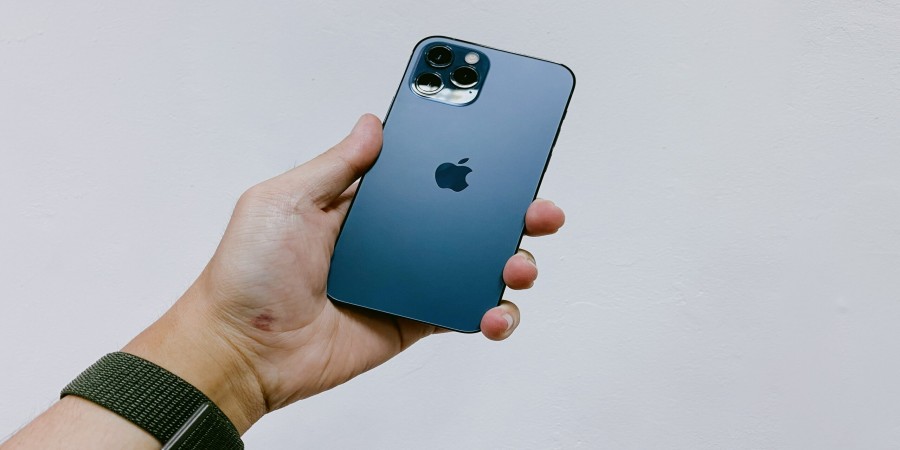

How To Transfer Files From iPhone To PC
For quite a long time, finding an answer to how to transfer files from iPhone to PC has been fraught with difficulty. There is some degree of compatibility between the iPhone and PC; nevertheless, in contrast to data syncing with Mac, it is still difficult to transfer files between the iPhone and PC. There are a few different methods by which you may synchronise and transfer data between your Windows computer and your iPhone or iPad.
If you use an iPhone, familiarising yourself with these guidelines will be of great use to you anytime the iOS data transfer is required. It does not matter whether you want to move files from your iPhone to your PC or vice versa; these options will work.
Transfer Up To 5 GB For Free
No-Registration Required

1. Transfer Files From iPhone To PC Using iCloud
Overall, iCloud is one of the simplest methods to transfer data between an iPhone and almost any other device, including a Windows PC. Essentially, you upload your data to iCloud and then retrieve them on another device.
Nevertheless, the free iCloud plan only provides 5GB of storage space. Therefore, if you want to utilise iCloud to transfer larger files, you must subscribe to a premium plan.
- Launch the Files app on your iPhone.
- Locate the files you want to transfer to your computer.
- Long-press the Copy button and touch it for individual files. To copy several files, utilise the Select option from the menu with three dots.
- In the app, go to iCloud Drive and paste the copied files there. Your files have been transferred to iCloud Drive.
- Use iCloud.com or the iCloud Drive application for Windows to download the files to your computer.
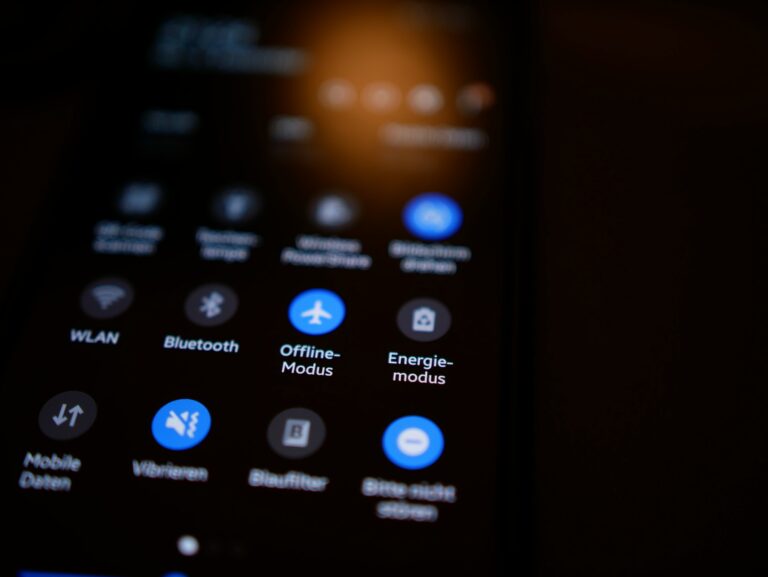
2. Transfer Files From iPhone To PC Via Bluetooth
Bluetooth is another simple technique to transfer data from iPhone to PC. However, one aspect you need to remember is that transferring data from iPhone to PC over Bluetooth is only possible for a limited number of different file formats.
Since it is so time-consuming to manually choose files for iPhone to Bluetooth file transfer, you can only transmit a small quantity of data through Bluetooth, which means you can only share a limited amount of information.
Besides, Bluetooth is by no means the most efficient method for transferring data. As a result, in the next paragraph, we will discuss yet another effective strategy.
- Swipe the settings panel on the iPhone’s home screen upward and press and hold the Bluetooth symbol. Permit it to connect to the computer to which you want to transmit the data.
- To begin the transmission, select the Windows “settings” option and then activate the Bluetooth option. Within the windows tab, the “device” option may be found. Turn on Bluetooth from there to enable the Bluetooth device to accept files.
- Select the files you intend to transfer from your iPhone to your computer.
- These files will appear in a pop-up on your computer.
3. Transfer Files From iPhone To PC Using File Explorer On Windows
Now in our article on how to transfer files from iPhone to PC, we’ll take a look at the most dominant and popular operating system; Windows. You may be familiar with File Explorer, the software for managing and transferring files on Windows computers. It makes it simple for you to access the files on your computer and traverse the storage space on it.
If the data you need to transfer is photos and videos from your iPhone’s camera roll, Windows File Explorer is the way to go, as it enables direct picture and video transmission from iPhone to PC through USB connection. No further software is required.
- File Explorer has a graphical user interface for data administration. Using a USB connection, you may connect the iPhone to a computer.
- Unlocking the iPhone Allow the connection to successfully establish by selecting “Trust” on your iPhone. a
- Navigate to “This PC” > “[the name of your iPhone]” > “Internal Storage” > “DCIM” > “100APPLE.”
- Your iPhone images will be neatly organised into date-based folders.
- You may now copy the desired photo(s) to your computer.

4. How To Transfer Files From iPhone To PC With iTunes
The primary purpose of iTunes File Sharing is to facilitate data transfer between your computer and a compatible application running on your iPhone or iPad. If you are certain that the files you wish to transfer were produced by an app compatible with File Sharing, then you may use this function to move material from an iPhone to a PC.
To transfer files from an iPhone to a PC with the help of iTunes File Sharing and USB, follow the subsequent steps:
- Connect your iPhone to your computer and start iTunes if it is not already running automatically.
- In the window for iTunes, go to the “Device” tab, and from there, pick “File Sharing.”
- If you wish to transfer files from one programme to another on your PC, choose that app from the list.
- After deciding which are files you wish to copy to the computer, choose those files and then click the “Save to” button.
- To begin transferring files from your iPhone to the computer, choose a place on your computer where you would want to store the files, and then click the “Save to” button.
Popular articles
02/07/2023 03:27 AM

02/07/2023 03:23 AM

02/07/2023 03:22 AM
Categories
Comments (0)